|
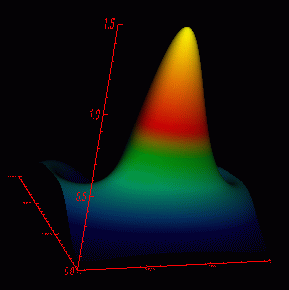
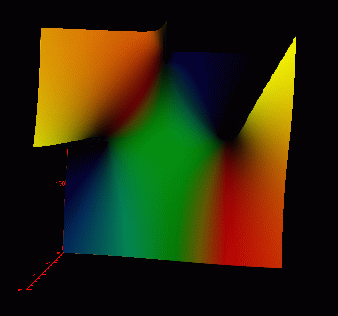
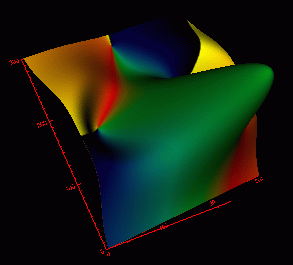
This image was created using the same using the same code as Example 3, with one small change. The second array, dat1, was used to create the texture image that was imposed on the surface of the first array, dat0. Here is a short segment of code taken from Example 3. The array name is the only change, and it is shown in bold below. |
; Create the surface object. Use the array
dat1. Style 2 is "filled",
; ie. solid. Other choices are 0=points, 1=wire
mesh, 3= ruled XZ, etc.
; Apply the textureimage created above.
mysurface = OBJ_NEW('IDLgrSurface', dat0, Style=2, $
texture_map=mytextureimage)